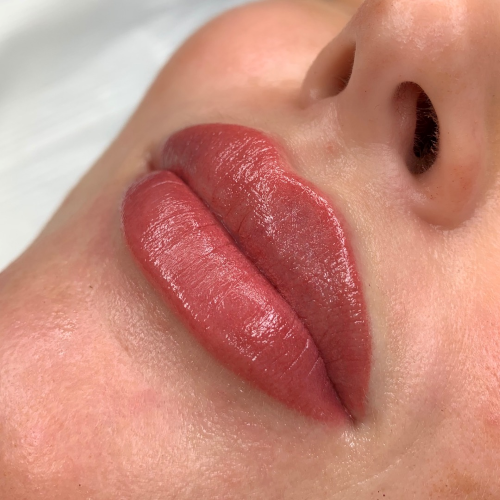
One of our cosmetic tattoo treatments that has increased exponentially in popularity over the last couple of years is lip blush tattoo. In this article, we delve into exactly what this treatment is, what the procedure is like (from my own point of view, having the treatment done last year), what the downtime and healing is like – as well as the crucial pre-treatment preparation to follow, to ensure that your lip tattoo results are beyond amazing!
Lip Blush tattoo is a type of semi permanent makeup/cosmetic tattoo procedure, where pigment is implanted into the lips to brighten/darken and redefine them, and in essence, give them an altered appearance, mainly in terms of improvement of pigment intensity and evenness.
Lip tattoo first became popular in the 1990s in Australia, however back then, a harsh lip liner/out line effect was quite common. This is not a treatment that we offer here, as it simply does not age very well – and we feel that a more natural/total lip pigment treatment gives a much more flattering and rejuvenating look – that is timeless.
Lip blush tattoo gives a more natural looking, pigmented lip where the lip borders are subtly defined (no harsh, two-tone outlines!) and then, to improve overall pigment and the effect of fullness, the entire lip is pigmented. However, the area is not saturated 100% – which gives a natural look – more like a lip tint, than an intense matte lipstick effect.
The treatment is popular with those who have lost definition or pigmentation in their lips due to ageing or ailments, such as cold sores or scars, which can cause pigment to fade in areas. It is also popular with those who wear lipstick/coloured gloss almost every day, but don’t want to worry about re-applications or smudging.
Preparing for your lip blush tattoo:
It is very important to read through all of the pre-treatment information that we send you upon booking an appointment; because if you have ever had any kind of cold sore (even a minor one or one in your childhood) then it’s important that you obtain preventative medication and/or cream to help prevent an outbreak. This is a prescription medication and most doctors are aware of these types of procedures, and will know what to prescribe you. As lip blush tattoo involves what we would call microabrasions to the lip, like any kind of skin trauma (i.e. sunburn or windburn) – it will increase your likelihood of developing cold sores in the area (if you have the cold sore virus in your system – which, if you’ve ever had a cold sore, or any the related viruses then you most likely will have!).
Ensure your lips are well-hydrated by gently exfoliating them each day, and moisturising them with hydrating lip balms/masks in the week or so prior to your appointment. This will ensure that the treatment runs smoothly, and your lips feel comfortable and not dry during the treatment – giving outstanding results immediately after your appointment.
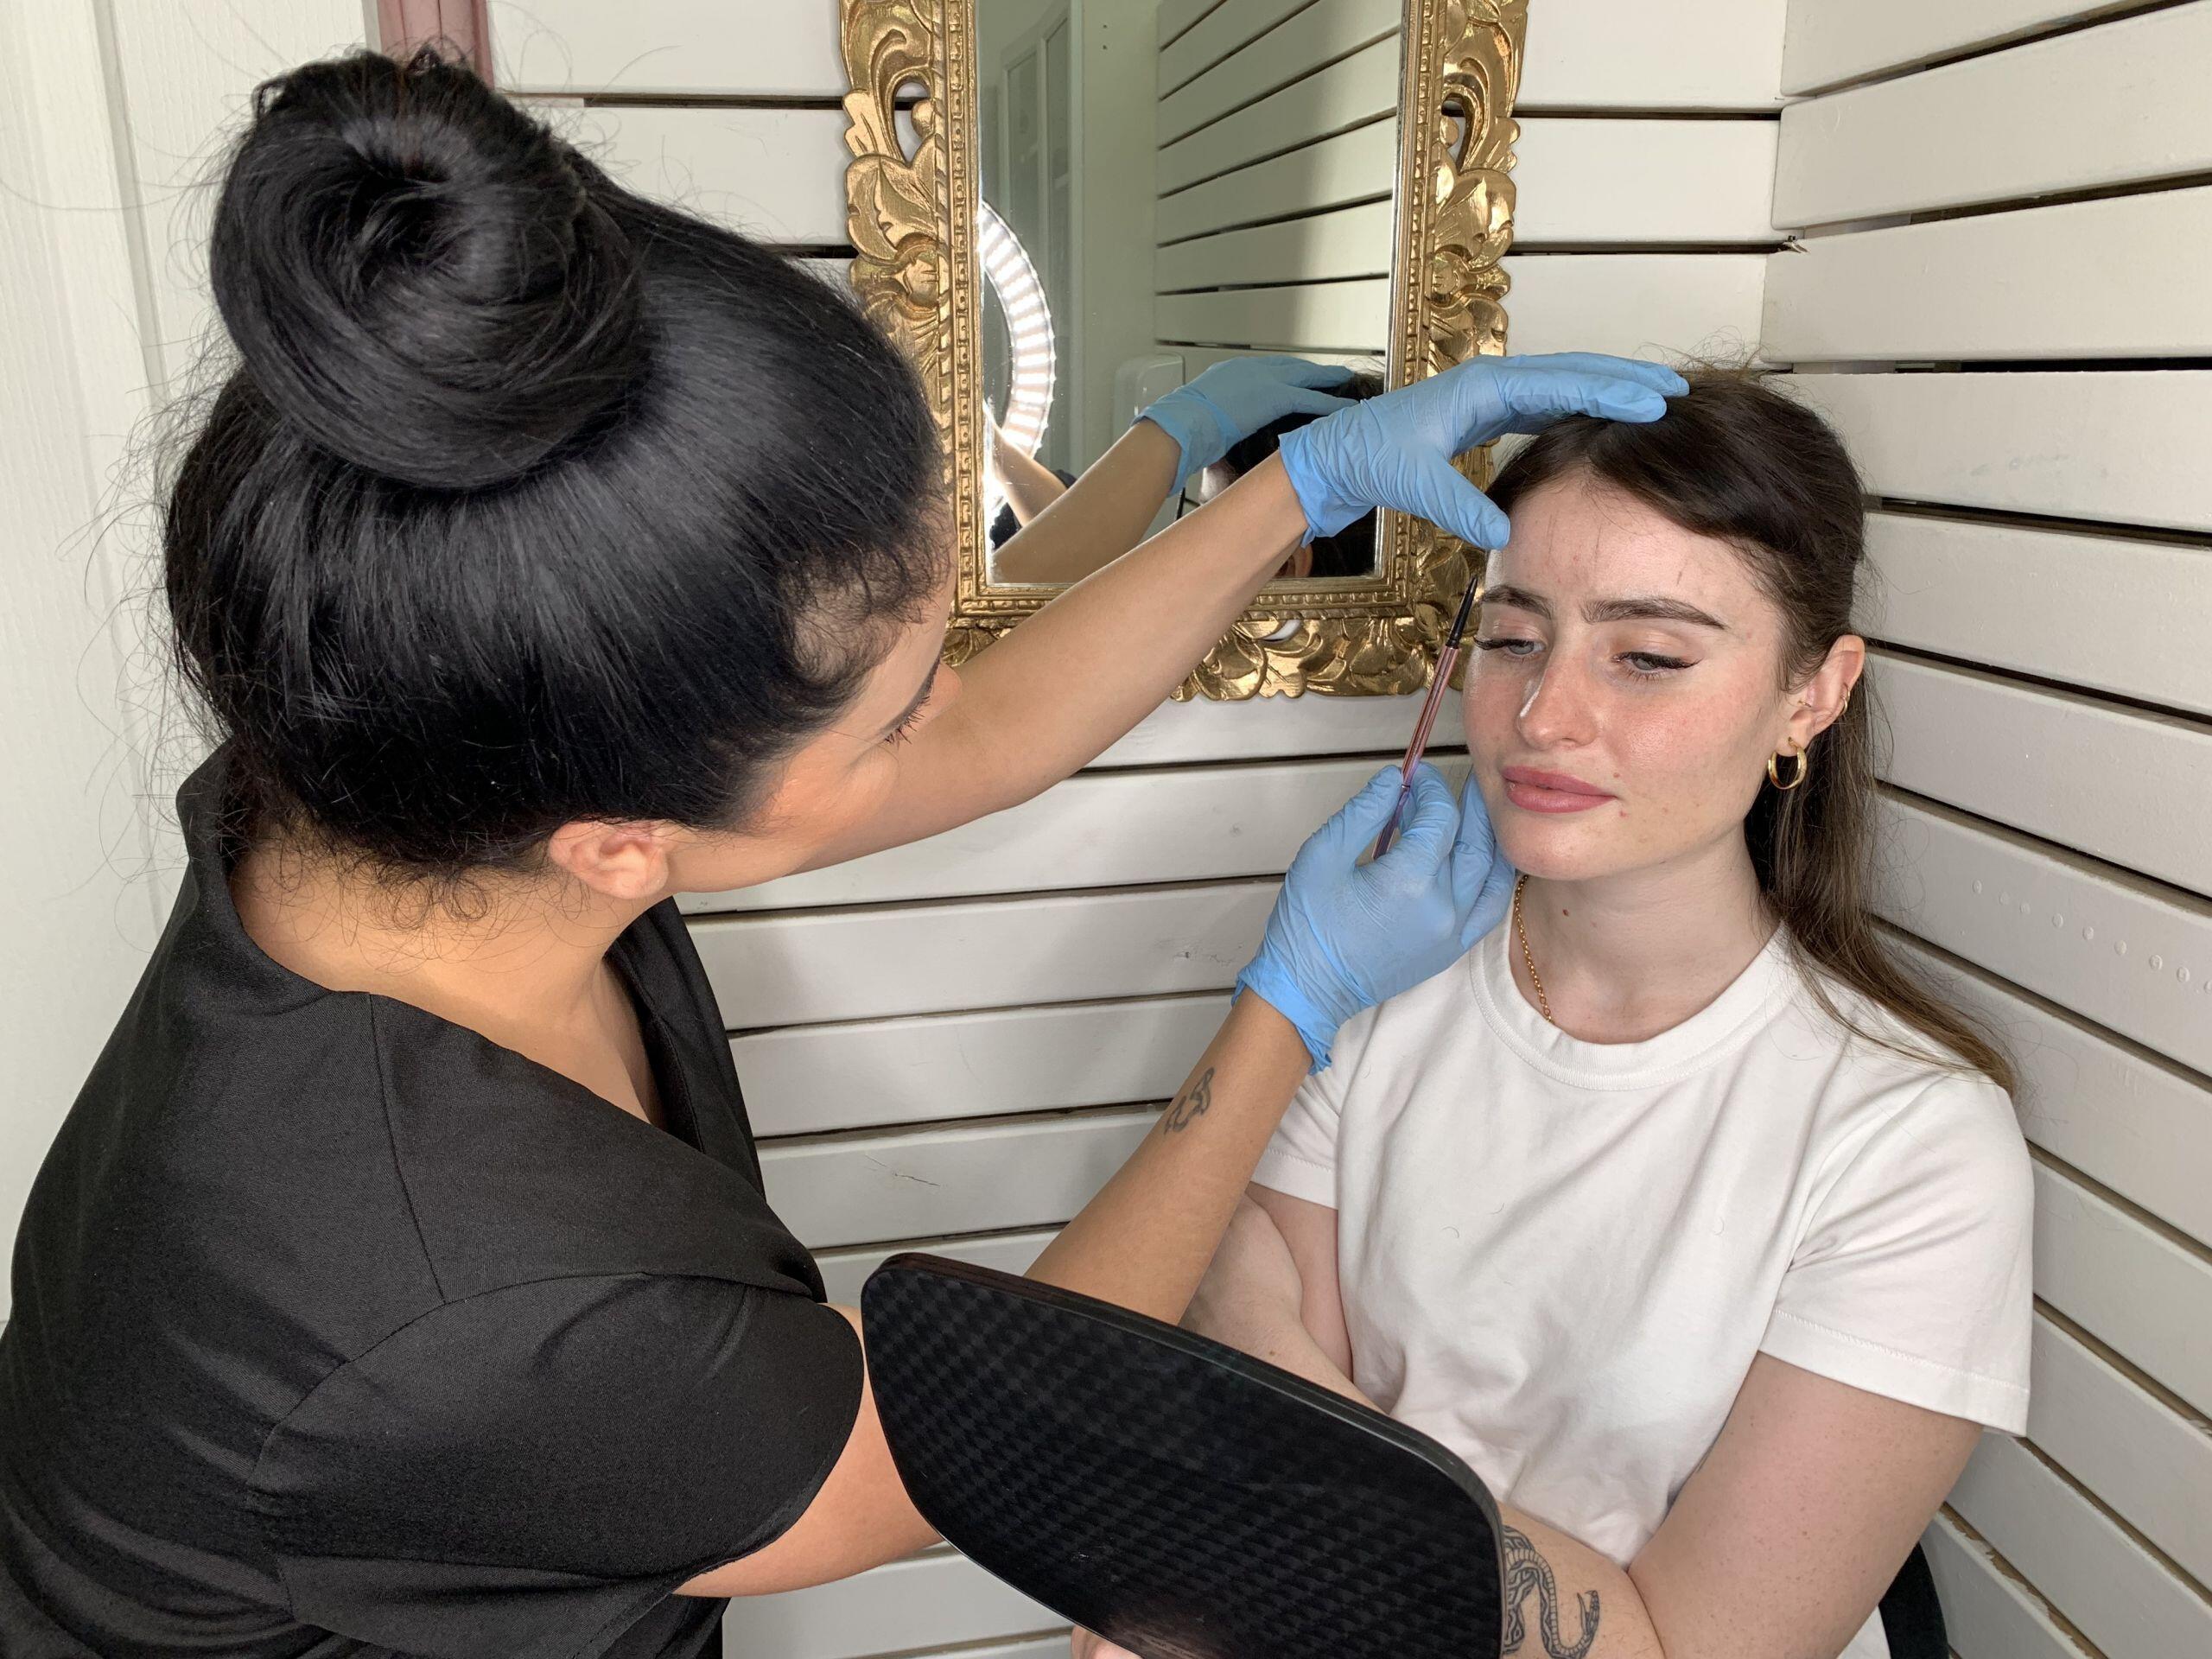
At your appointment, your artist will discuss and design the shape of your lips, which can include making minor adjustments to the border in order to improve symmetry, particularly where your natural pigment has faded from some areas, but not others. Colours will be discussed with you based on what look you are hoping to achieve, as well as what lipstick or lipgloss colours you would normally choose for everyday wear. You can bring lip sticks, lip, liners, or lip glosses that you like the colour of, and we can try to create a matching blend. Often, we blend more than one pigment to create a custom colour just for you.
Using a prescription (strong!) numbing cream that you would have obtained prior to your appointment from a compounding pharmacy, we will numb your lips so that the experience is as painless as possible. Beforehand, we will give all of the information about this, as we work closely with a local compounding pharmacy.
The actual tattoo procedure itself takes around 60-90 minutes, and most of the time, you won’t feel much at all – just some vibrations and buzzing, and some pulling sensations as your artist stretches your lips. From time to time, you might feel a minor amount of discomfort, however we can always top up the numbing during the procedure if needed.
Healing and downtime – this varies from person-to-person, based on factors such as your overall health, age, and how well you have followed the pre-treatment and after-care instructions. In most cases, you could go back to work the same day, however you may not be able to speak very well if your lips are still numb – so I would not schedule this appointment on a day where you have any kind of presentation within about 48 hours.
Here’s my own healing timeline, with photos! – thought that it would be useful to give a firsthand account of exactly how my healing went, especially when I sort of messed up a little in terms of aftercare (learn from my mistakes!)
You can see my lip healing photos here, on our instagram:
Day 1:
Immediately after the treatment, my lips feel HUGE and look a bright, intense wam pink. The number has not worn off at this stage, so it takes a little while for the feeling to come back and the swelling to go down. My lips are quite swollen, however, I really like the effect and it does then make me consider filler. Ivy my tattooist assures me that the colour will fade in the coming week or 2 to a more muted/softer tone, and that the initial intensity is quite normal.That evening, my lips start to feel tight and a little dry, and I ramp up putting on after-care cream as much as possible. My lips feel a little bit sore and it hurts a little bit to drink – a straw is recommended! Also – DON’T eat anything with citrus or anything acidic in it, as it really really stings as I soon learned!
Day 2:
The swelling is down almost to normal, but my lips are still quite bright. Today, they feel very dry, so I am putting on the after cream several times a day. There is not scabbing or anything like that at this stage, and I think they just look amazing and really nicely defined. With a bit of after-care balm on them, they look like my ideal lipstick colour, but brighter than what I would normally wear.
Day 3:
Today, I made the mistake of going out for a hike in the wind (cold and bright winter’s day) without really considering the effect on my lips/staying out of the wind. In the afternoon, my lips felt so dry, and I needed to put cream on them every hour. I would recommend not doing this because they felt quite uncomfortable and you can’t put sunscreen on them for the first couple of weeks – so definitely try to say out of the elements in the initial healing period!
Day 4-5:
Uh-oh. Because of my adventures on day three, and thinking I didn’t need to worry about cold sores as I haven’t had one since I was about nine years old, I now have the cold sore of all cold sores, emerging on my top lip. So I am now hitting the cold sore medication hard, but probably too late and slathering it in coldsore cream. It’s quite sore, although overall my lips still look amazing.
Day 6-10:
During this, some dry skin is shedding from my lips, and I can see that the colour underneath is paler and less intense than how it initially looked, which is a relief as it is the exact colour I was hoping for. Due to the coldsore on the top lip, it does look a little horrible, but overall, my lips are healing well. And as we are in the very middle of winter, and it is very dry, I’m using a lot of soothing balm on my lips to avoid them cracking/minimise any skin shedding.
Day 11-14:
My coldsore has now almost gone and all of the dry skin has shed from my lips – it was great to be able to use a warm wash cloth to gently rub off the final flakes of old skin. I have been lucky in that the pigment has retained in almost all areas, except for a little patch where the cold sore was.
Day 21:
My lips look amazing, and I don’t need to put any lipstick on to feel like my lips are perfect. Just a lick of clear lipgloss, and they look as though I have a nice lip stain on (or perhaps just have naturally very good lip pigmentation!)
6 weeks post treatment – first retouch:
Six weeks after my initial lip blush tattoo treatment, a top-up/retouch treatment is done. Overall, the pigment has retained extremely well and there are just a few patches on the top lip/lip line that need more definition – the entire lip will have a little more pigment in implanted, to give it a bit more intensity and improve longevity.
4 weeks after retouch treatment (so 10 weeks after first treatment):
This time, I followed the after-care instructions perfectly, and as such, within about a week or so, my lips looked and felt perfectly healed (and no coldsores!) and I absolutely love the colour – it’s a warm, natural pink-ish tone (it’s called Sweet Melissa – it’s one of our most popular shades) and are smooth and even.
How often do you need to have your lip tattoo retouched?
This will vary between individuals as some people will retain pigment very well, and others not quite as well. You can protect your lip tattoo by ensuring that you always use a lip SPF product when out in the sun, and you don’t expose your lips to much UV. Typically, we see clients coming back every 18 months to 2 years for a lip tattoo refresh.
